
Preparing the Background Support
Before working on adding color and laying out the rough pieces to check for color harmony, I like to have the background paper in place to play off/balance the colors.
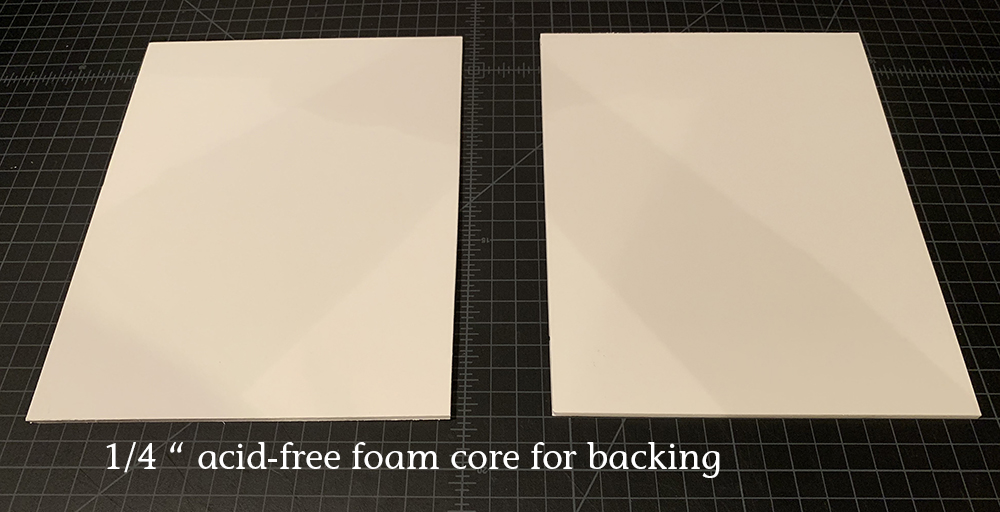
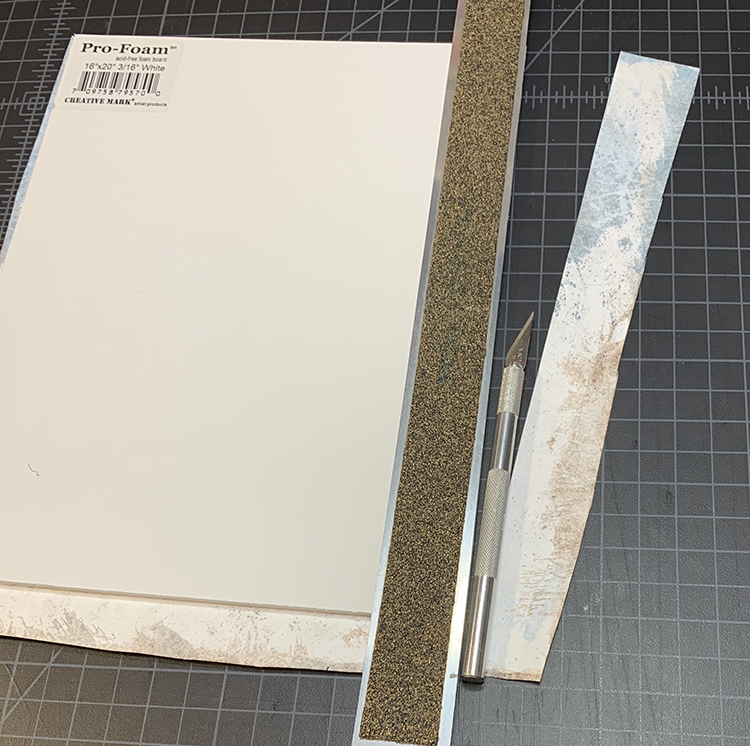
I like to have a stiffer backing for the paper sculpture, and I almost always back with ¼” (or 3/16") acid free foam core. I have bought it off Amazon before. The best prices I find are in-store at Jerry’s Artarama (but haven't found them in the online store). If you live close to a good art store, ask them about acid-free foam core and watch for sale prices. I will usually buy a larger sheet and cut to my final size.
NOTE: if it doesn't say acid-free, I always assume it ISN'T.
I like that the foam core is almost always perfectly flat. CAVEAT: it warps easily. I’ll point out where to watch for this in the process below.
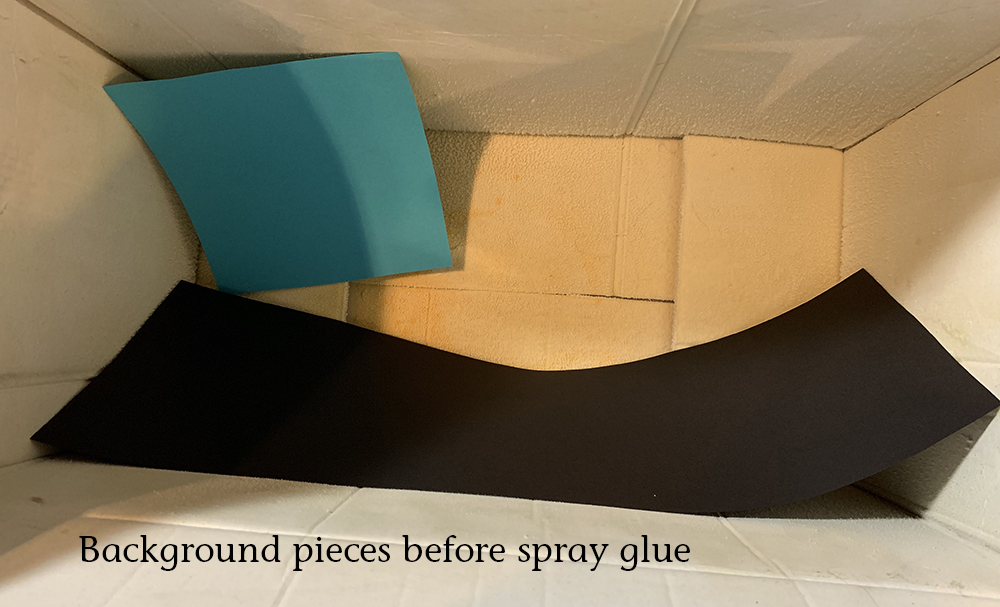
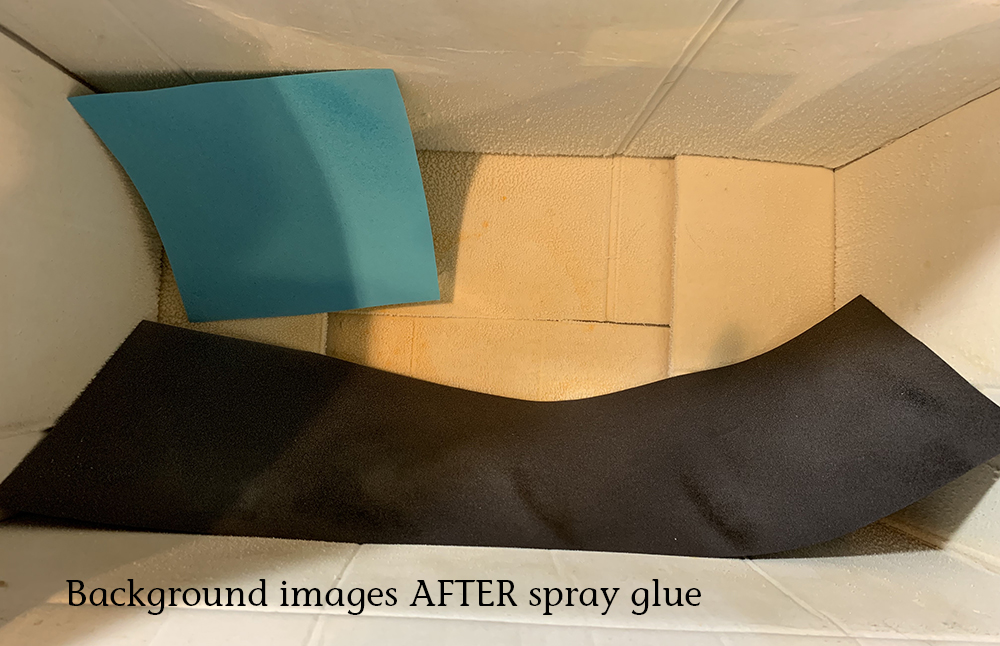
I take the paper(s) that I want to be the primary background color and spray them with spray glue.
I cut extra so that I don’t have to be perfect in placing it on the foam core. I smooth it down and then let it dry for several hours.
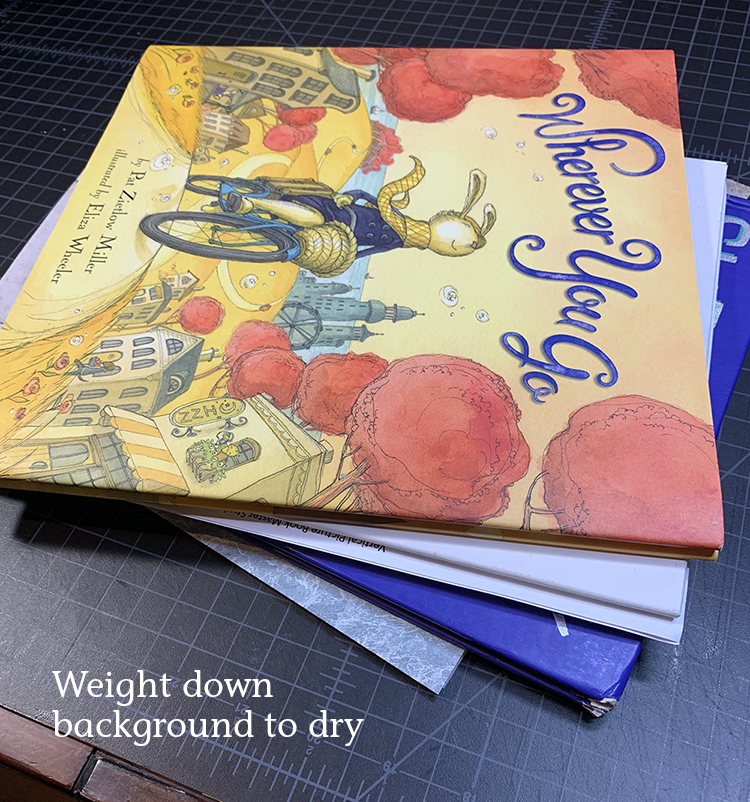
NOTE: weigh down the foam core/background paper while it dries so that it stays flat.
I usually just layer it with books, because I have plenty of those laying around. If you don’t, the foam core will warp. The only fix for this is to affix it to another flat board, either foam core or the final mount in the frame.
You can also use large sheets of double-sided adhesive. Again, I can buy these at Jerry’s in person, but not online. I may move more to this for the background in the future because I’ve inadvertently warped too many pieces of foam core.
Be sure to keep the cut off pieces – they can be used for other things down the road.