
Starting a Paper Sculpture: Initial Design
Thumbnails, Detailed Drawings, Color Roughs
In order to demonstrate my paper sculpture techniques, over the course of these posts I will work through two illustrations that were first developed as 1-inch sketches for Inktober 2018.
Step One: Thumbnail Sketches:
Almost all illustration starts with a thumbnail sketch. These small images allow design choices to be made quickly and changed even more quickly, with many options for layouts considered and played with, without getting too precious with the images. (NOTE: I am NOT good at thumbnail drawings - mine look like chicken scratch. The shapes/values/etc make sense to me only - they look nothing like the two images below).


"Star" is from the folktale "The Star Maiden".
A maiden who lives in a star searches for the perfect place to live on earth. She chooses the yellow star center of a water lily.
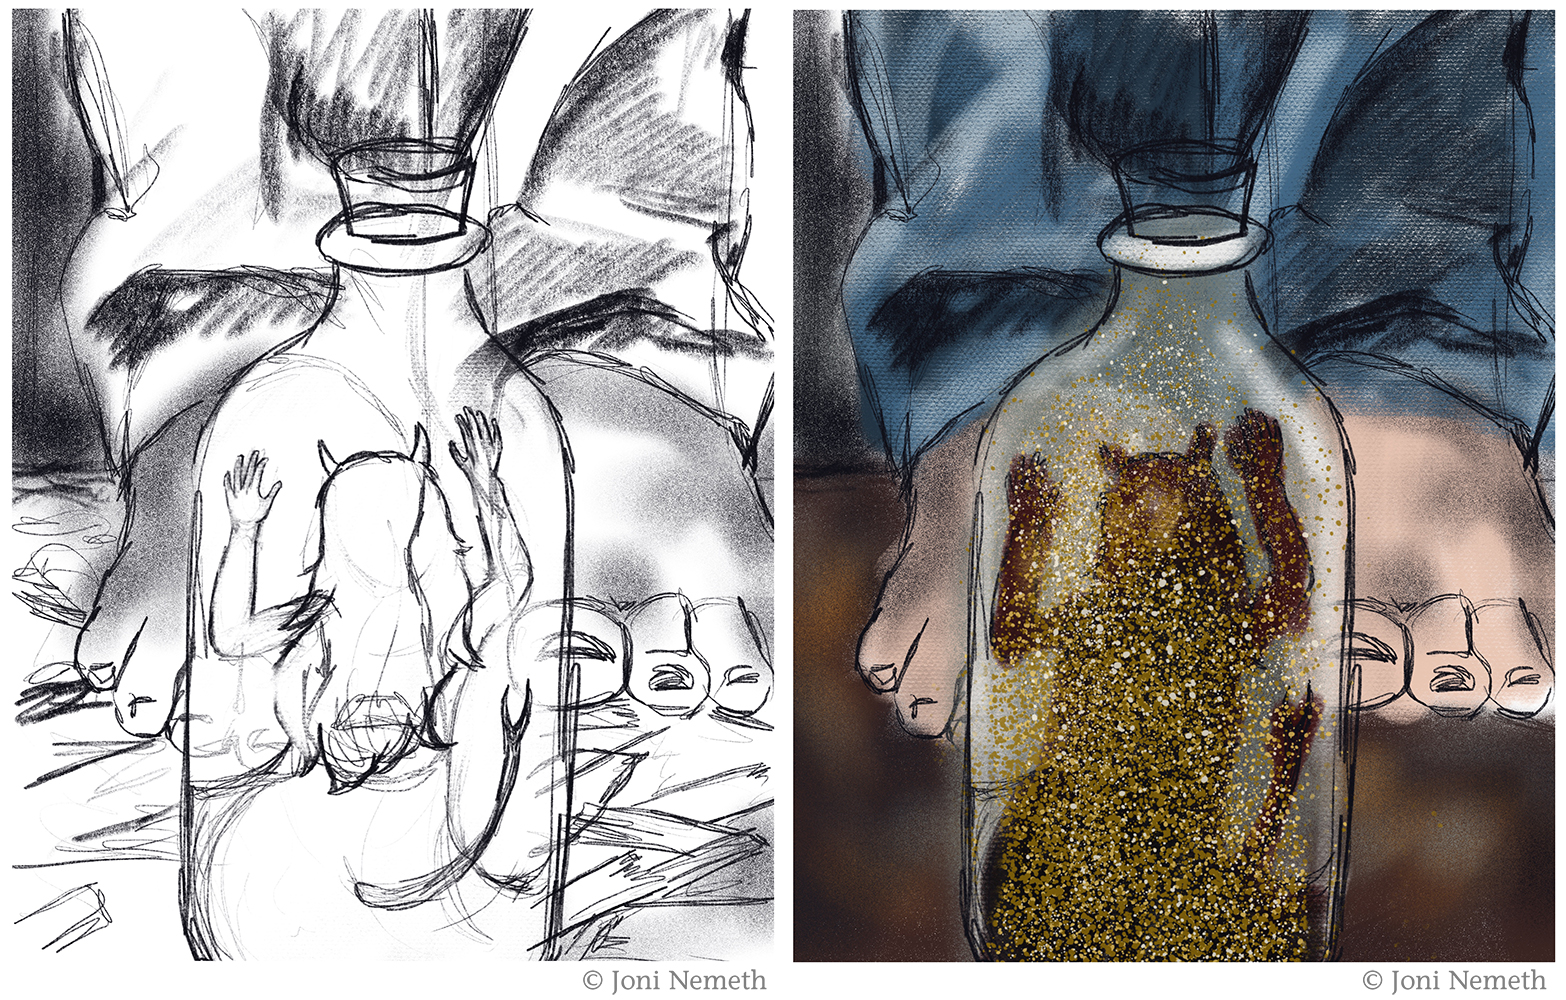
“Bottle” is from the fairytale "The Spirit in the Bottle".
A woodcutter's son finds a (demonic) spirit trapped in a bottle at the base of a tree.
There are people who can start a paper sculpture with no set plan or drawing – I am not one of those people.
However, I find that I don’t need to render as finely some of the details and line work in my sketch as I might if I were finishing in another medium or digitally. Which, unfortunately, has led to some sloppy drawing habits. For my own purposes, I’m fine with slightly unfinished drawings, because I like to leave some room for the paper and process to surprise me. However, I know if I want to work with an art director, at least initially, I’m going to need to have tighter initial drawings and more resolved value and color keys. A rough or loose drawing, however, doesn’t mean a “bad” drawing, or one that needs “fixing” in the finish. It’s only taken me twenty years to appreciate the truth of advice given in art school: “You can’t get a good painting from a bad drawing”. You can’t get a good paper-sculpture from one either.
Step Two: Larger Detailed Drawing
I liked the initial drawings and compositions of my inktober images, but I wanted to make a few changes.
First, I wanted to make the composition more portrait, rather than square. Both of these initial images felt a little truncated to me.

Step Three: Color Roughs
I also wanted to boost the color palette. I was using a very limited color palette in the #inktober2018 drawings, and because I want to work through using colored paper stock, I know the colors will be much more vibrant. (It would be possible to use more muted colors, but I would have to generate them myself rather than use commercially available colors).
Additionally, in the "Star" image I needed to add the roots of the water lilies underwater (things you think of afterwards)! It was also little unclear which leg was closer to the viewer - I adjusted the relative size of the left leg to make it recede slightly.
Note: These drawings and color roughs were created with Procreate on the ipad – working digitally could be a post in itself, and I’ll probably wait until I’m more proficient at it. Right now, I love the flexibility it gives me in adjusting compositions, and playing with color palettes.
When I’m working on a drawing, I’m trying to think through the process of building a paper sculpture. It’s hard for me to explain this thought process today – that’s what the next few posts are about – but this is why the lines may intersect in odd places on the line drawing.
Paper sculptures are very SHAPE-based – more so than LINE-based.
One thing I don’t worry as much about are highlights/shadows because these will come through the forming of the paper. (Although when you want more dramatic effects, you may still need to boost the highlights and shadows through additional colorizing on the paper).
Both of these compositions will also allow me to play with some additional and new techniques/effects using transparencies and overlays, which is exciting. I think the end results will surprise all of us!