
Welcome to My House: Studio Tour!
Maybe I’m a bit of a voyeur, but I like to see how other people arrange their workspaces. I’m a big believer that organization makes working more efficient, even if it takes time initially. If I had all the time I wanted, I would be an organized person, but of course, life always gets in the way of my best intentions. Hopefully this tour helps in future posts to understand how (and where) I’m working.
And in case you’re wondering, no, my studio is NEVER this clean! I had to take individual photos rather than do a 360 tour, because I basically moved piles of paper from flat surface to flat surface. 😉 My family will probably wonder where I took these images!
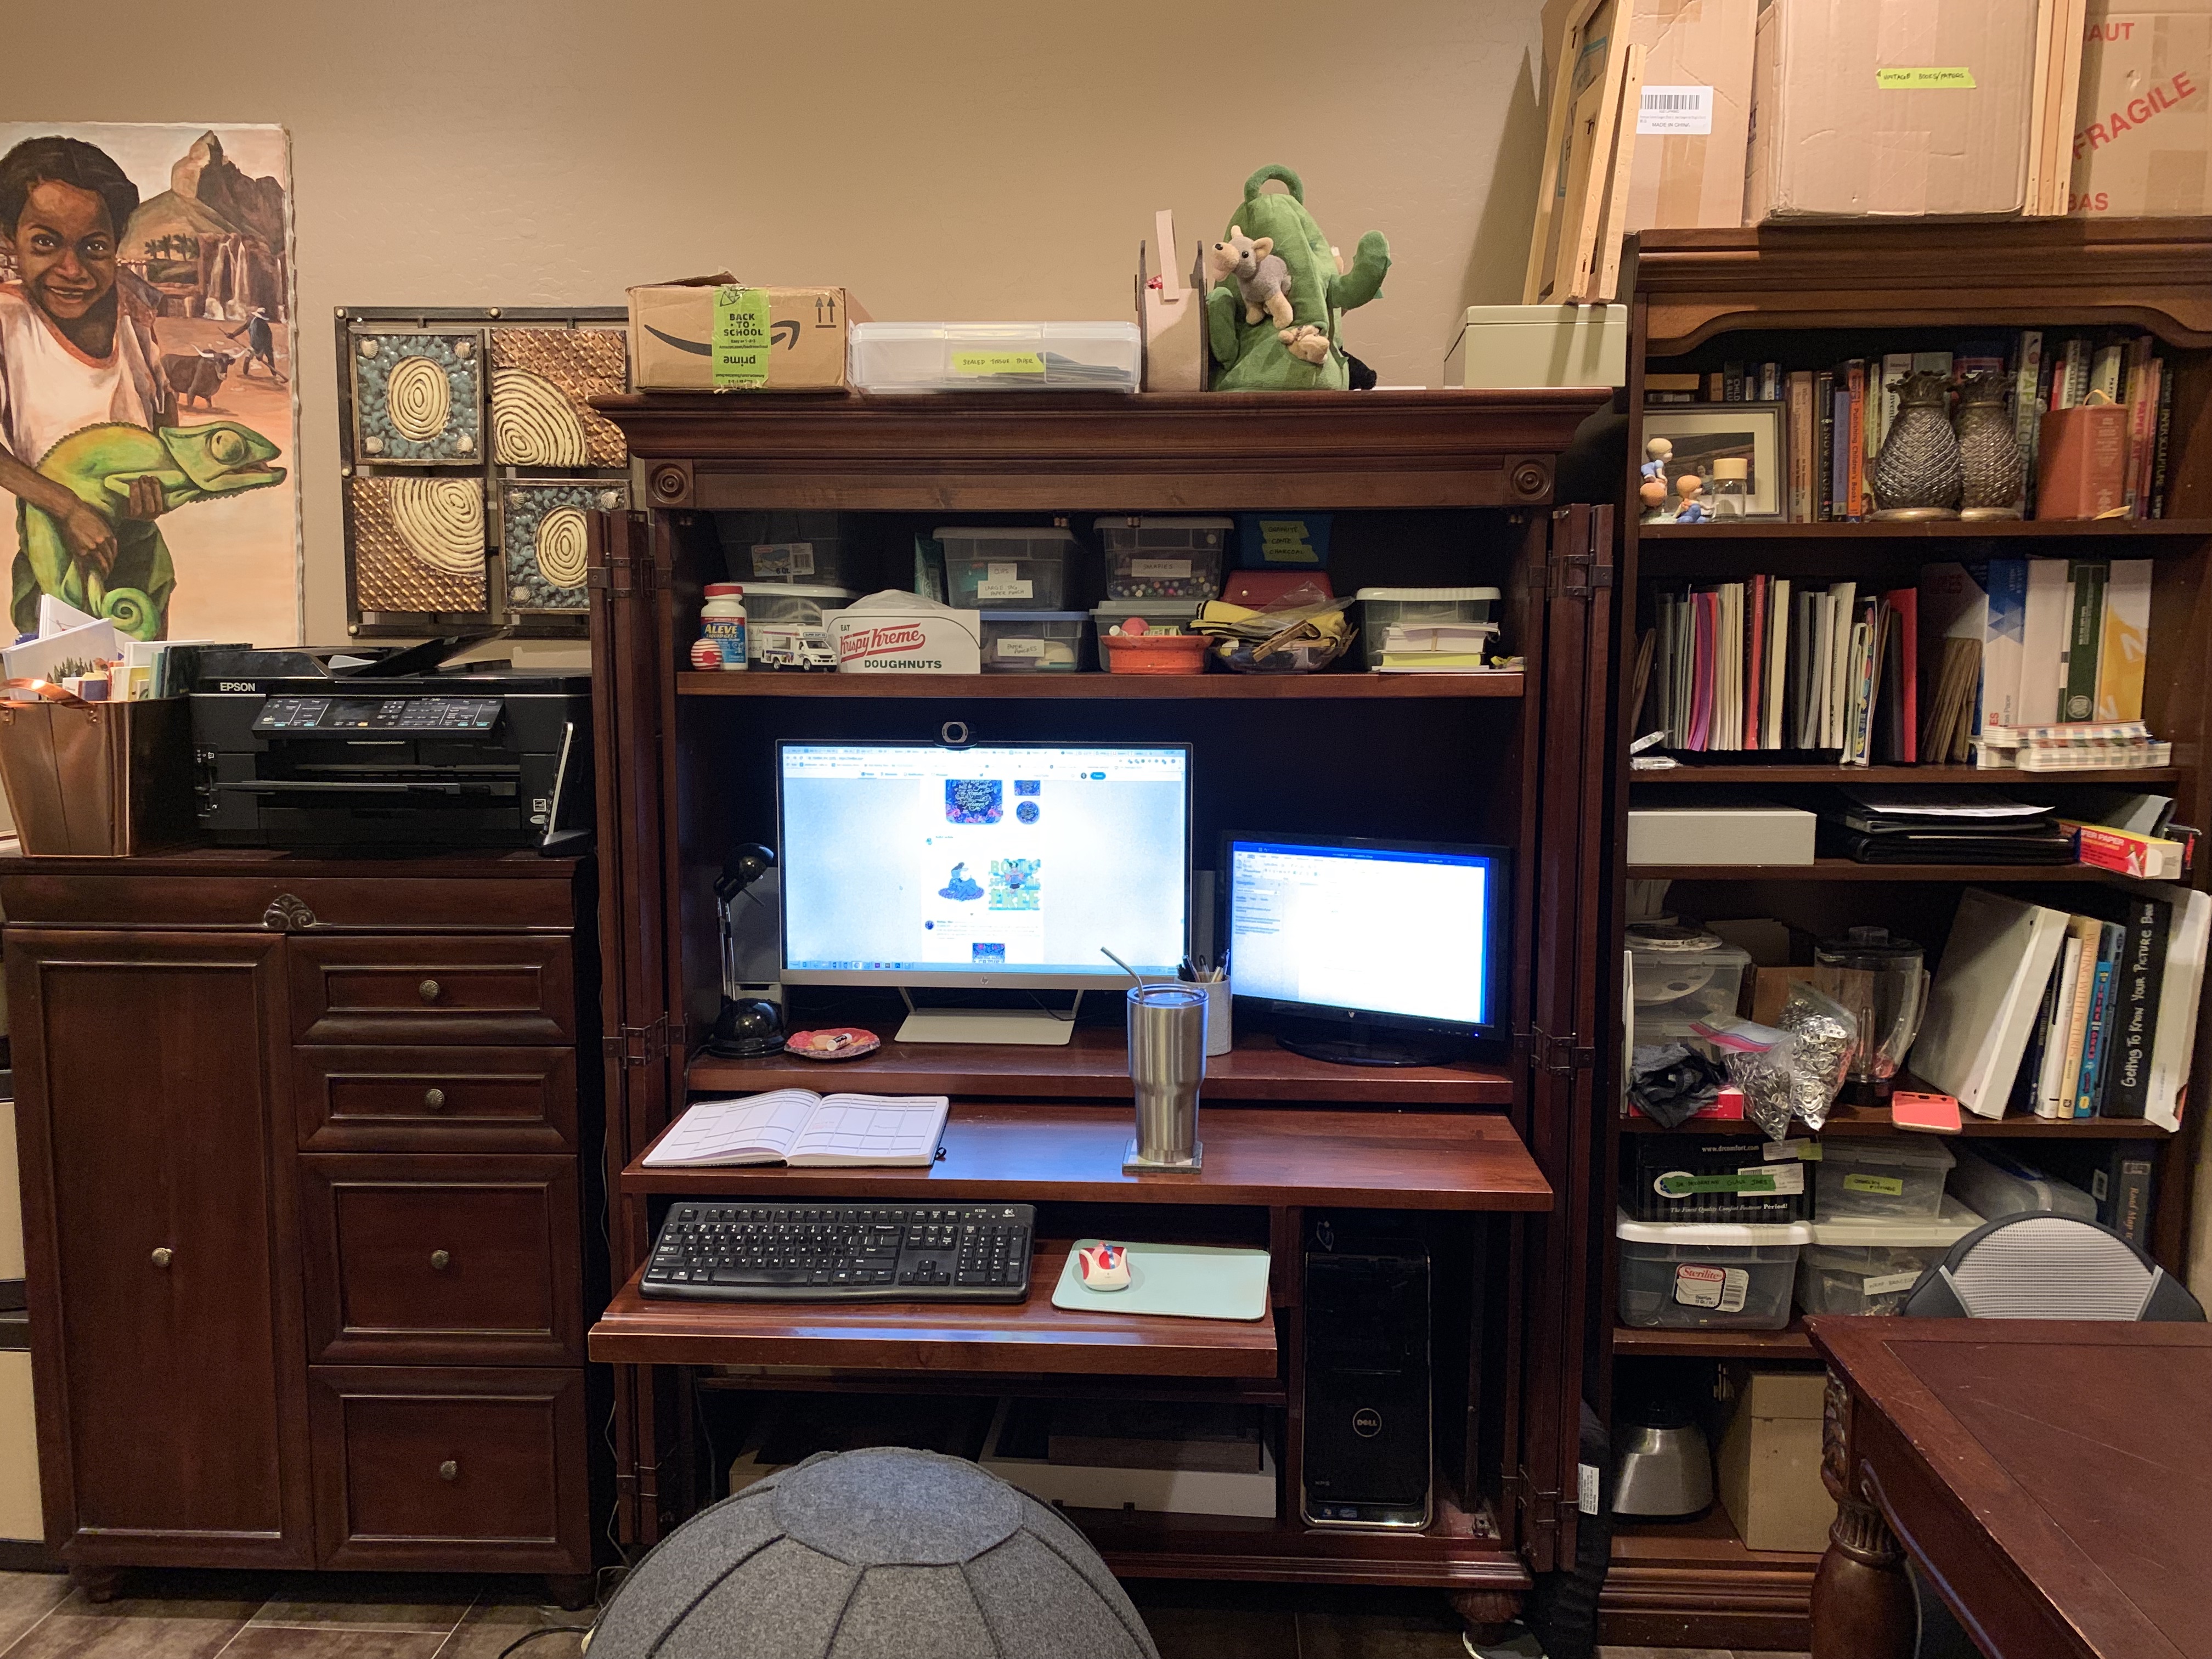
I am at the computer a great deal, particularly in the research/planning stages. Because I don’t finish digitally though, I’ve never been able to justify the cost of a Wacom/Cintiq monitor. I work digitally on my iPad Pro/Pencil and then upload to the cloud to finish in Photoshop on my desktop. I sometimes sit on the exercise ball – it is better for my leg circulation and back health. I would never use it when cutting however, because the instability is just an accident waiting to happen. And there is pretty much always a Diet Coke nearby.
I’ve recently added a second monitor (a no-frills one my son left behind when he went to college, and I just wanted to try out the extra space) and – mind blown! What a simple solution to being able to have multiple documents open, reference sources, etc.
My drawing table rarely goes up – it would be much more convenient if it were a completely flat table, but instead I deal with a slight bump in my cutting mat. And I love having the magnet boards to put references up while I’m working – another hand-me-down from my son.
Note: this is not how clean my desk is while I’m working. There will be bits paper all over it, which I try to corral in various ways. The social media paper artists who show these perfectly clean desks with artfully laid out paper samples and no remnant bits of paper are COMPLETELY STAGED!
I have lots of light sources in my studio, because I worry about my eye health and also because light coming from different angles is important when cutting and embossing. But the lights also give off a LOT of heat – sometimes I will be sitting and cutting out paper and sweating so much you’d think I was running a marathon! (I know, TMI).
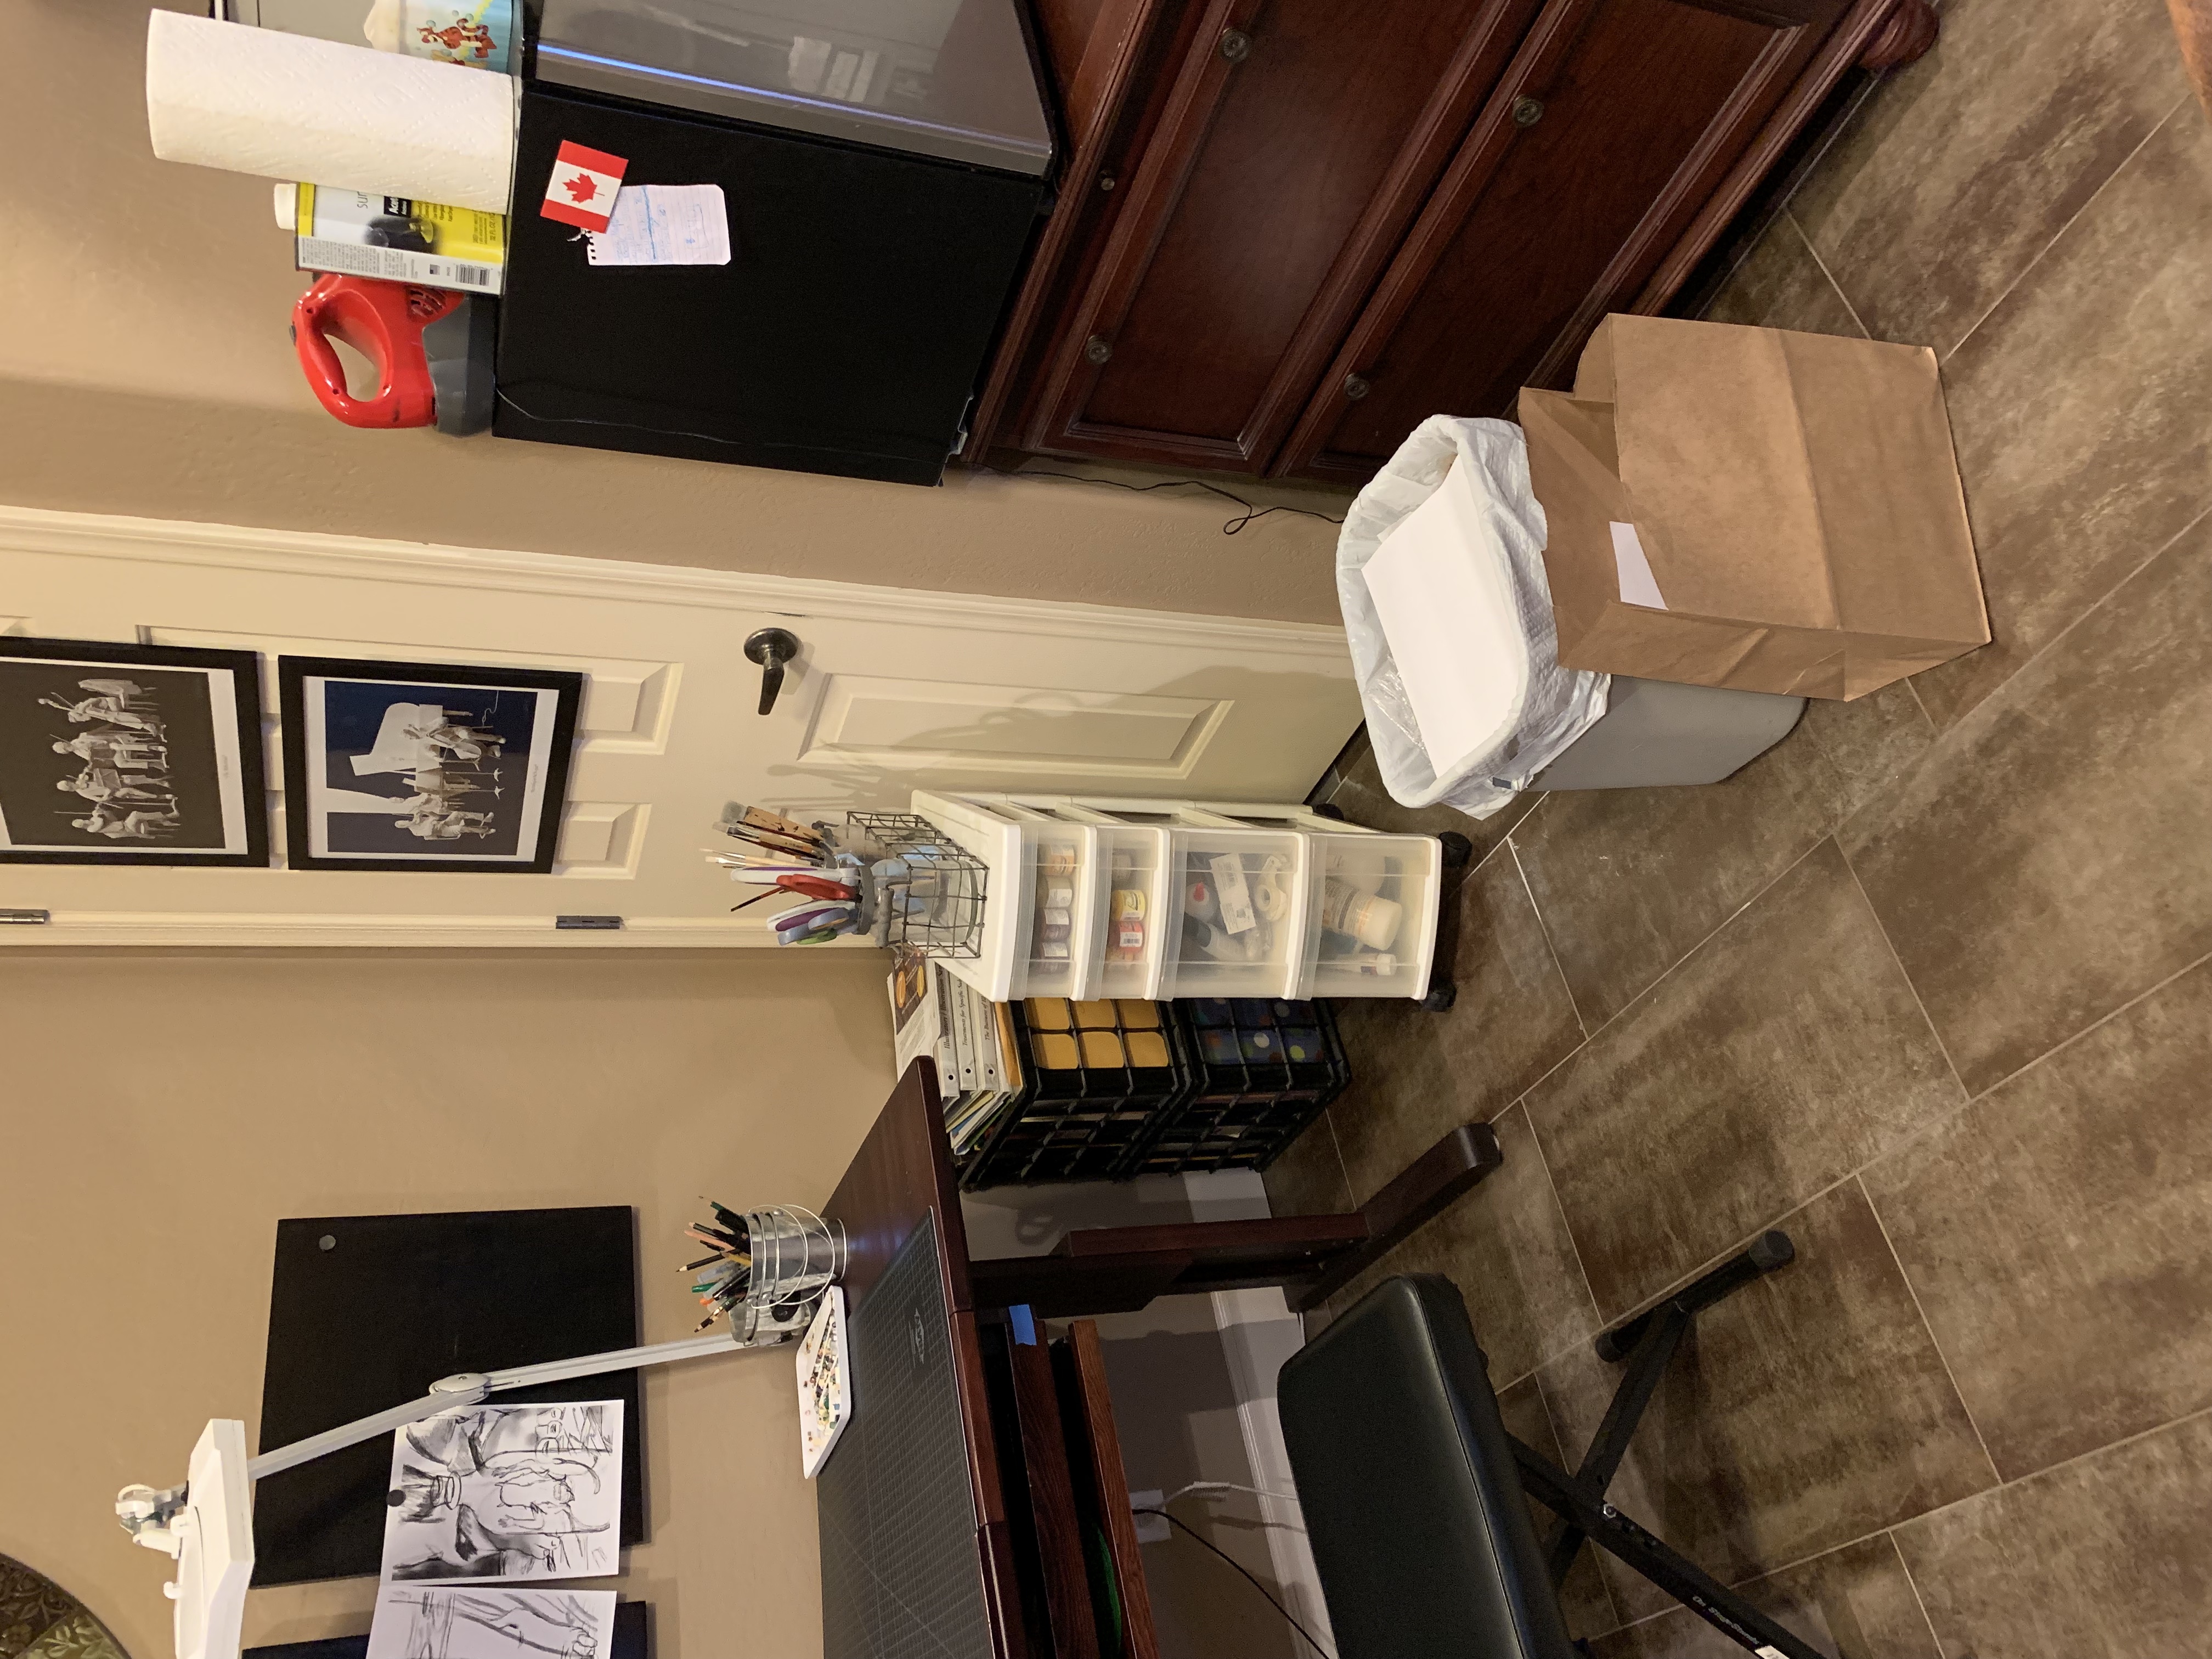
This may seem like an odd picture – but this is my tip of the day:
WORKING PROCESS TIP – keep garbages/recycling bins (paper bag in my case) well back of where you’re cutting.
Inevitably, you will cut a perfect little eyeball, or nose, or something that is smaller than a pin head, and you will drop it. If you drop it into the garbage or recycling because you’ve pulled them “conveniently close to your desk” you will never, ever find it again. If you drop it on the floor, at least you have a fighting chance. I have searched my floor with my phone flashlight for little wayward pieces many, MANY times. The floor of the studio is the one area I do try to keep clean as I go, for just this reason.
(And you can see two posters by Reinhard on the door on the right)
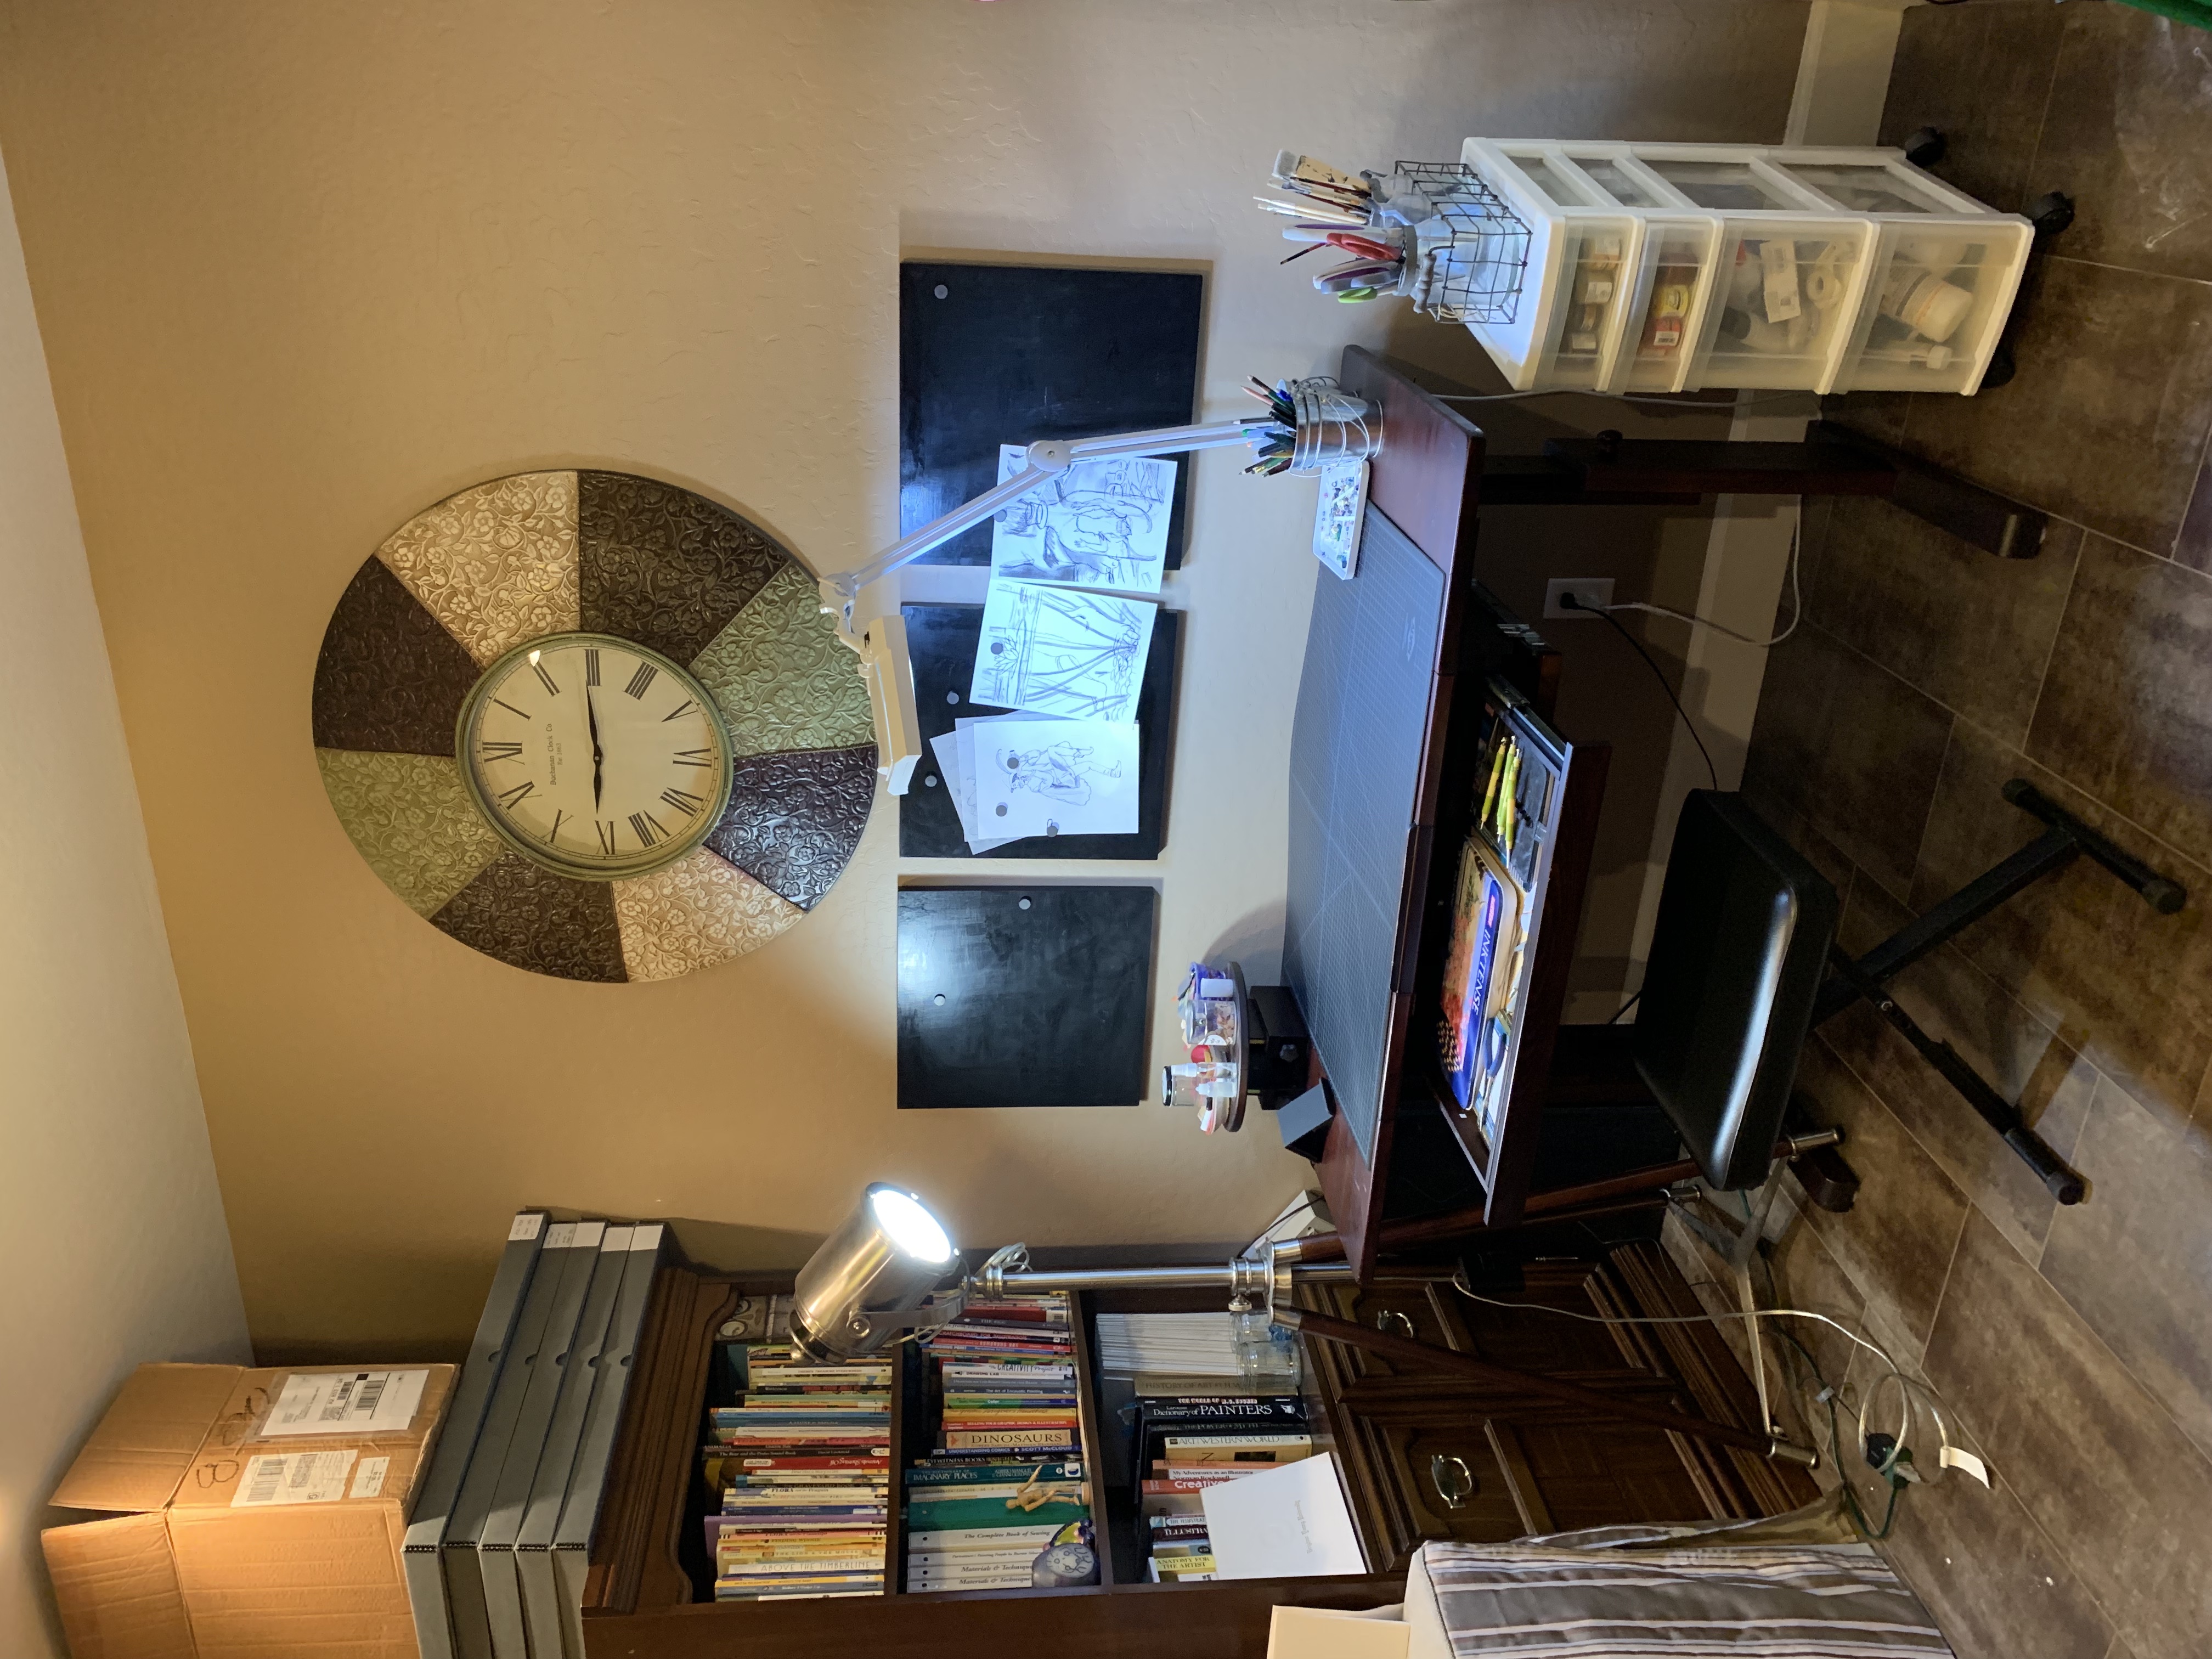

I always have books all around me – I’ve started putting the picture books etc., that I using as mentor texts, etc. in this bucket because the piles were threatening to overtake the office (and I was losing track of library books, etc.). And it looks pretty.

And sometimes I have little fun items that I’m using for reference on current projects!
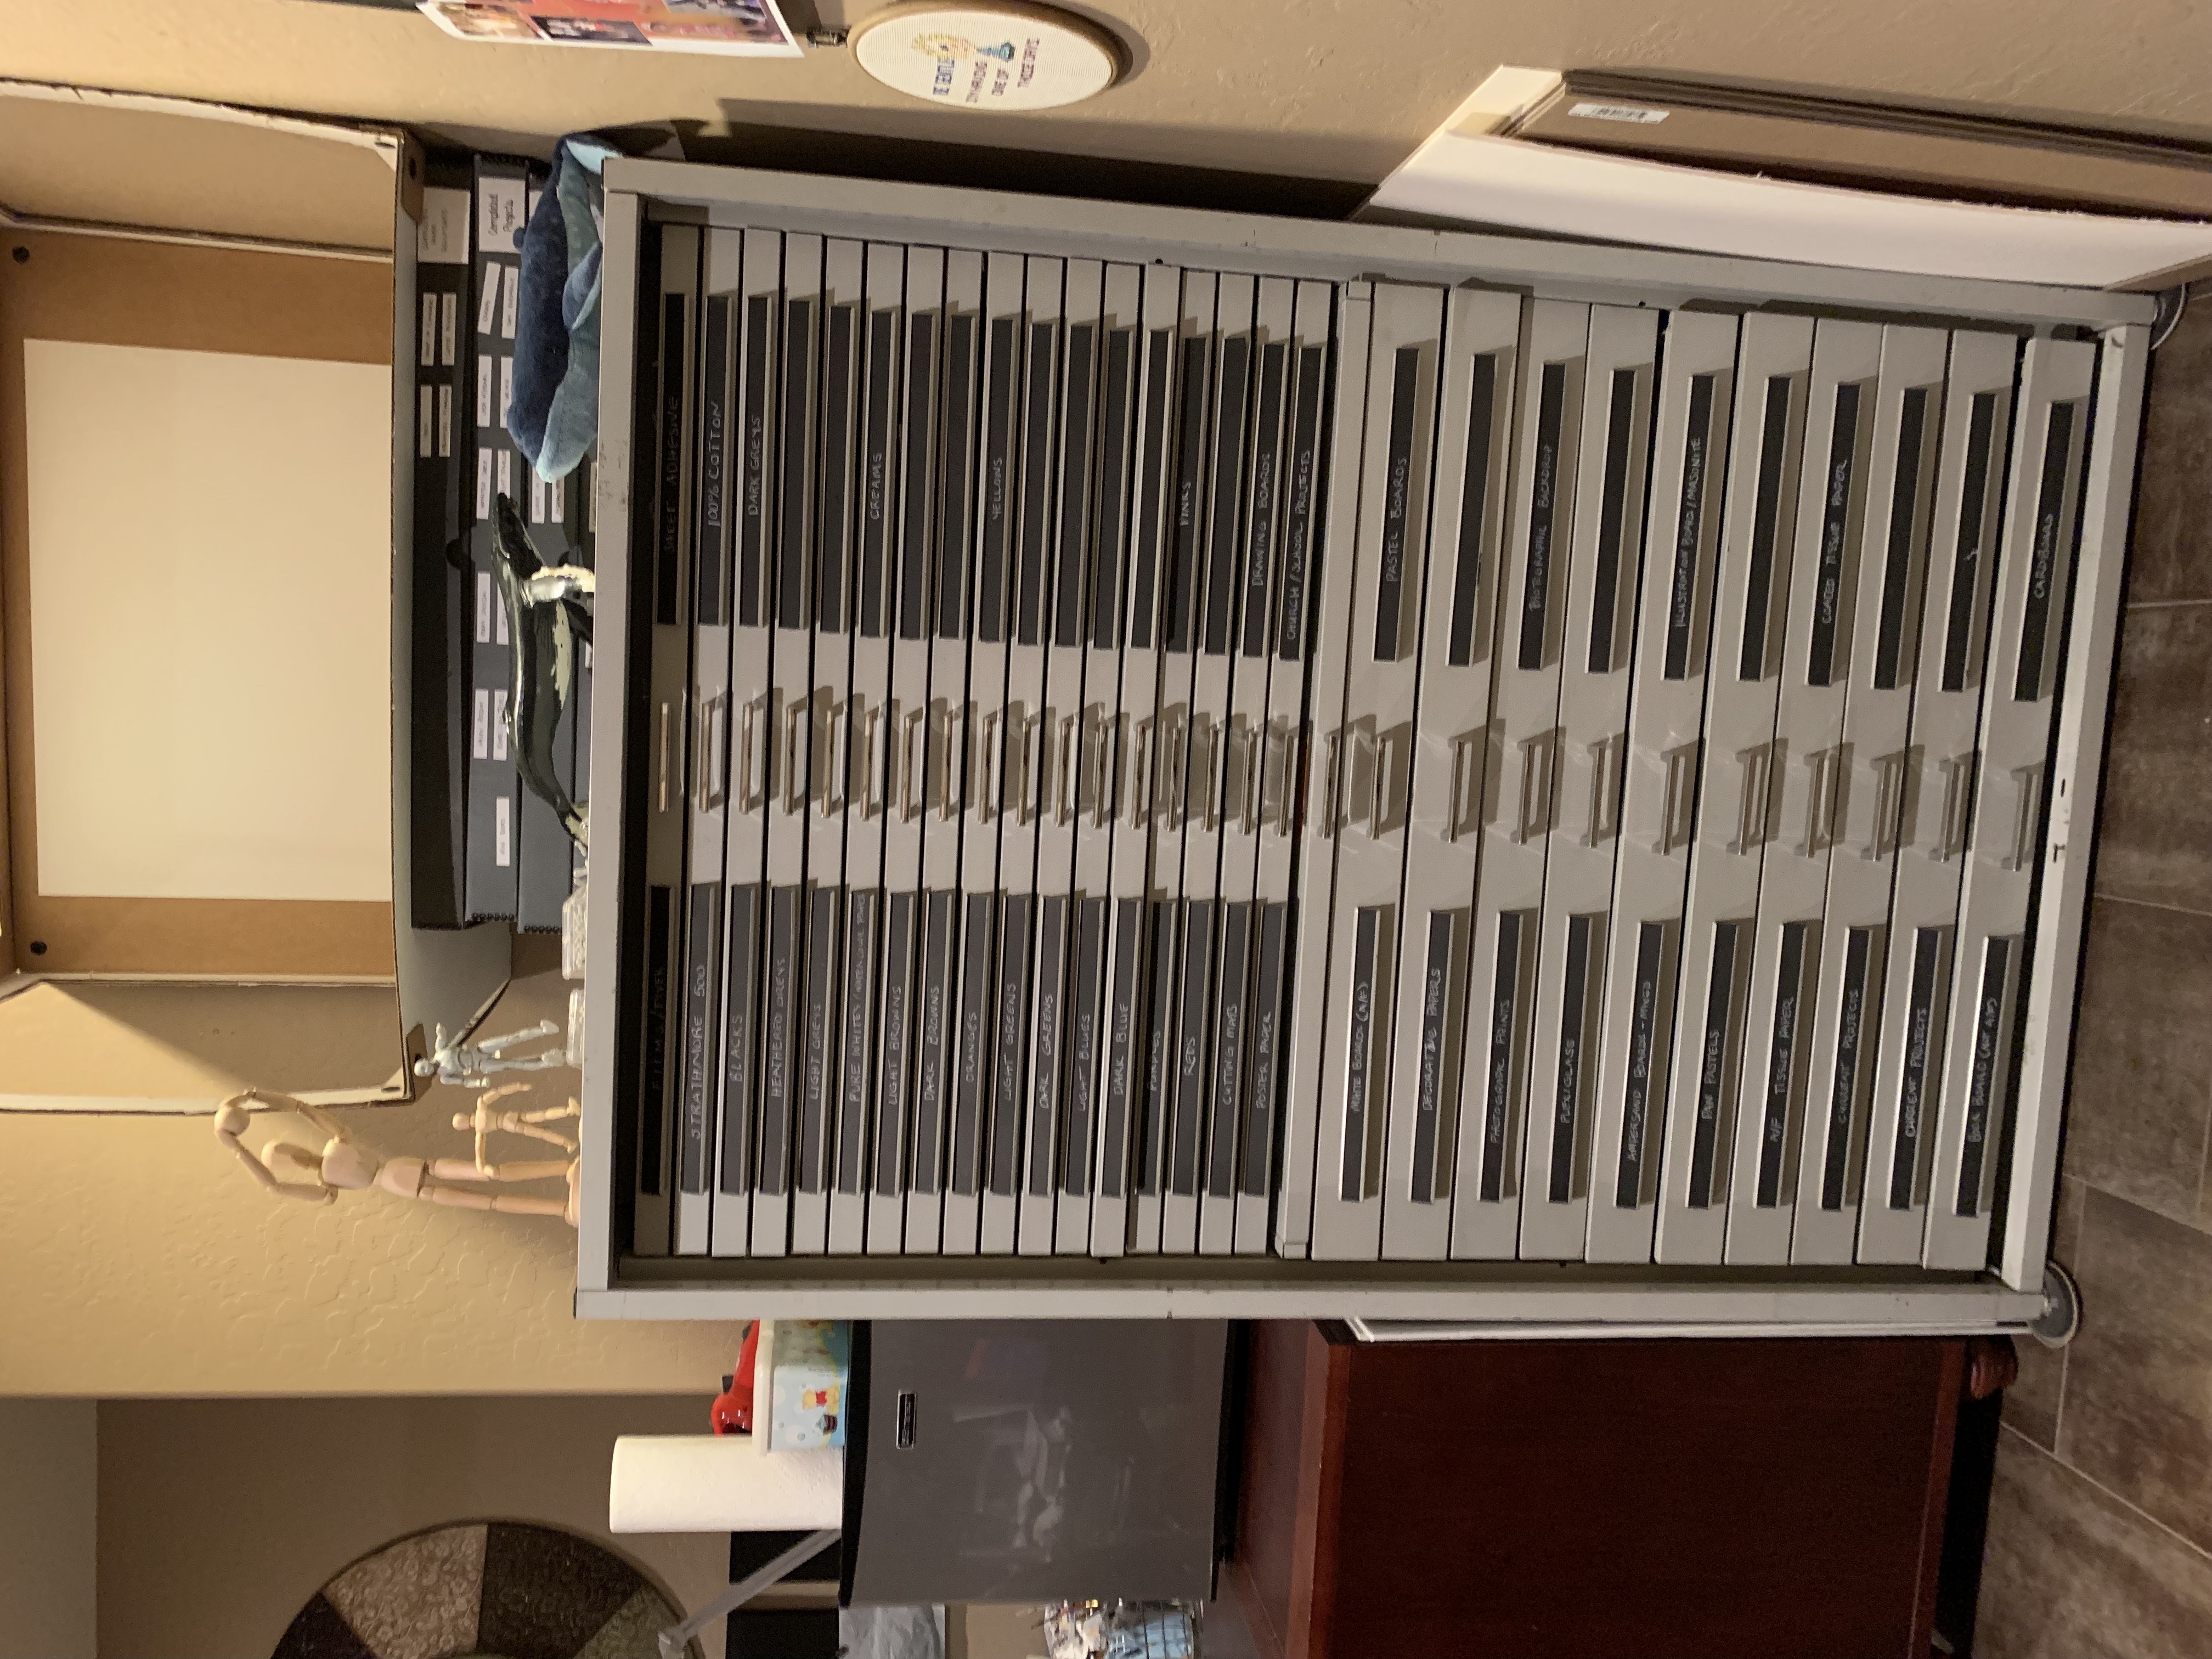
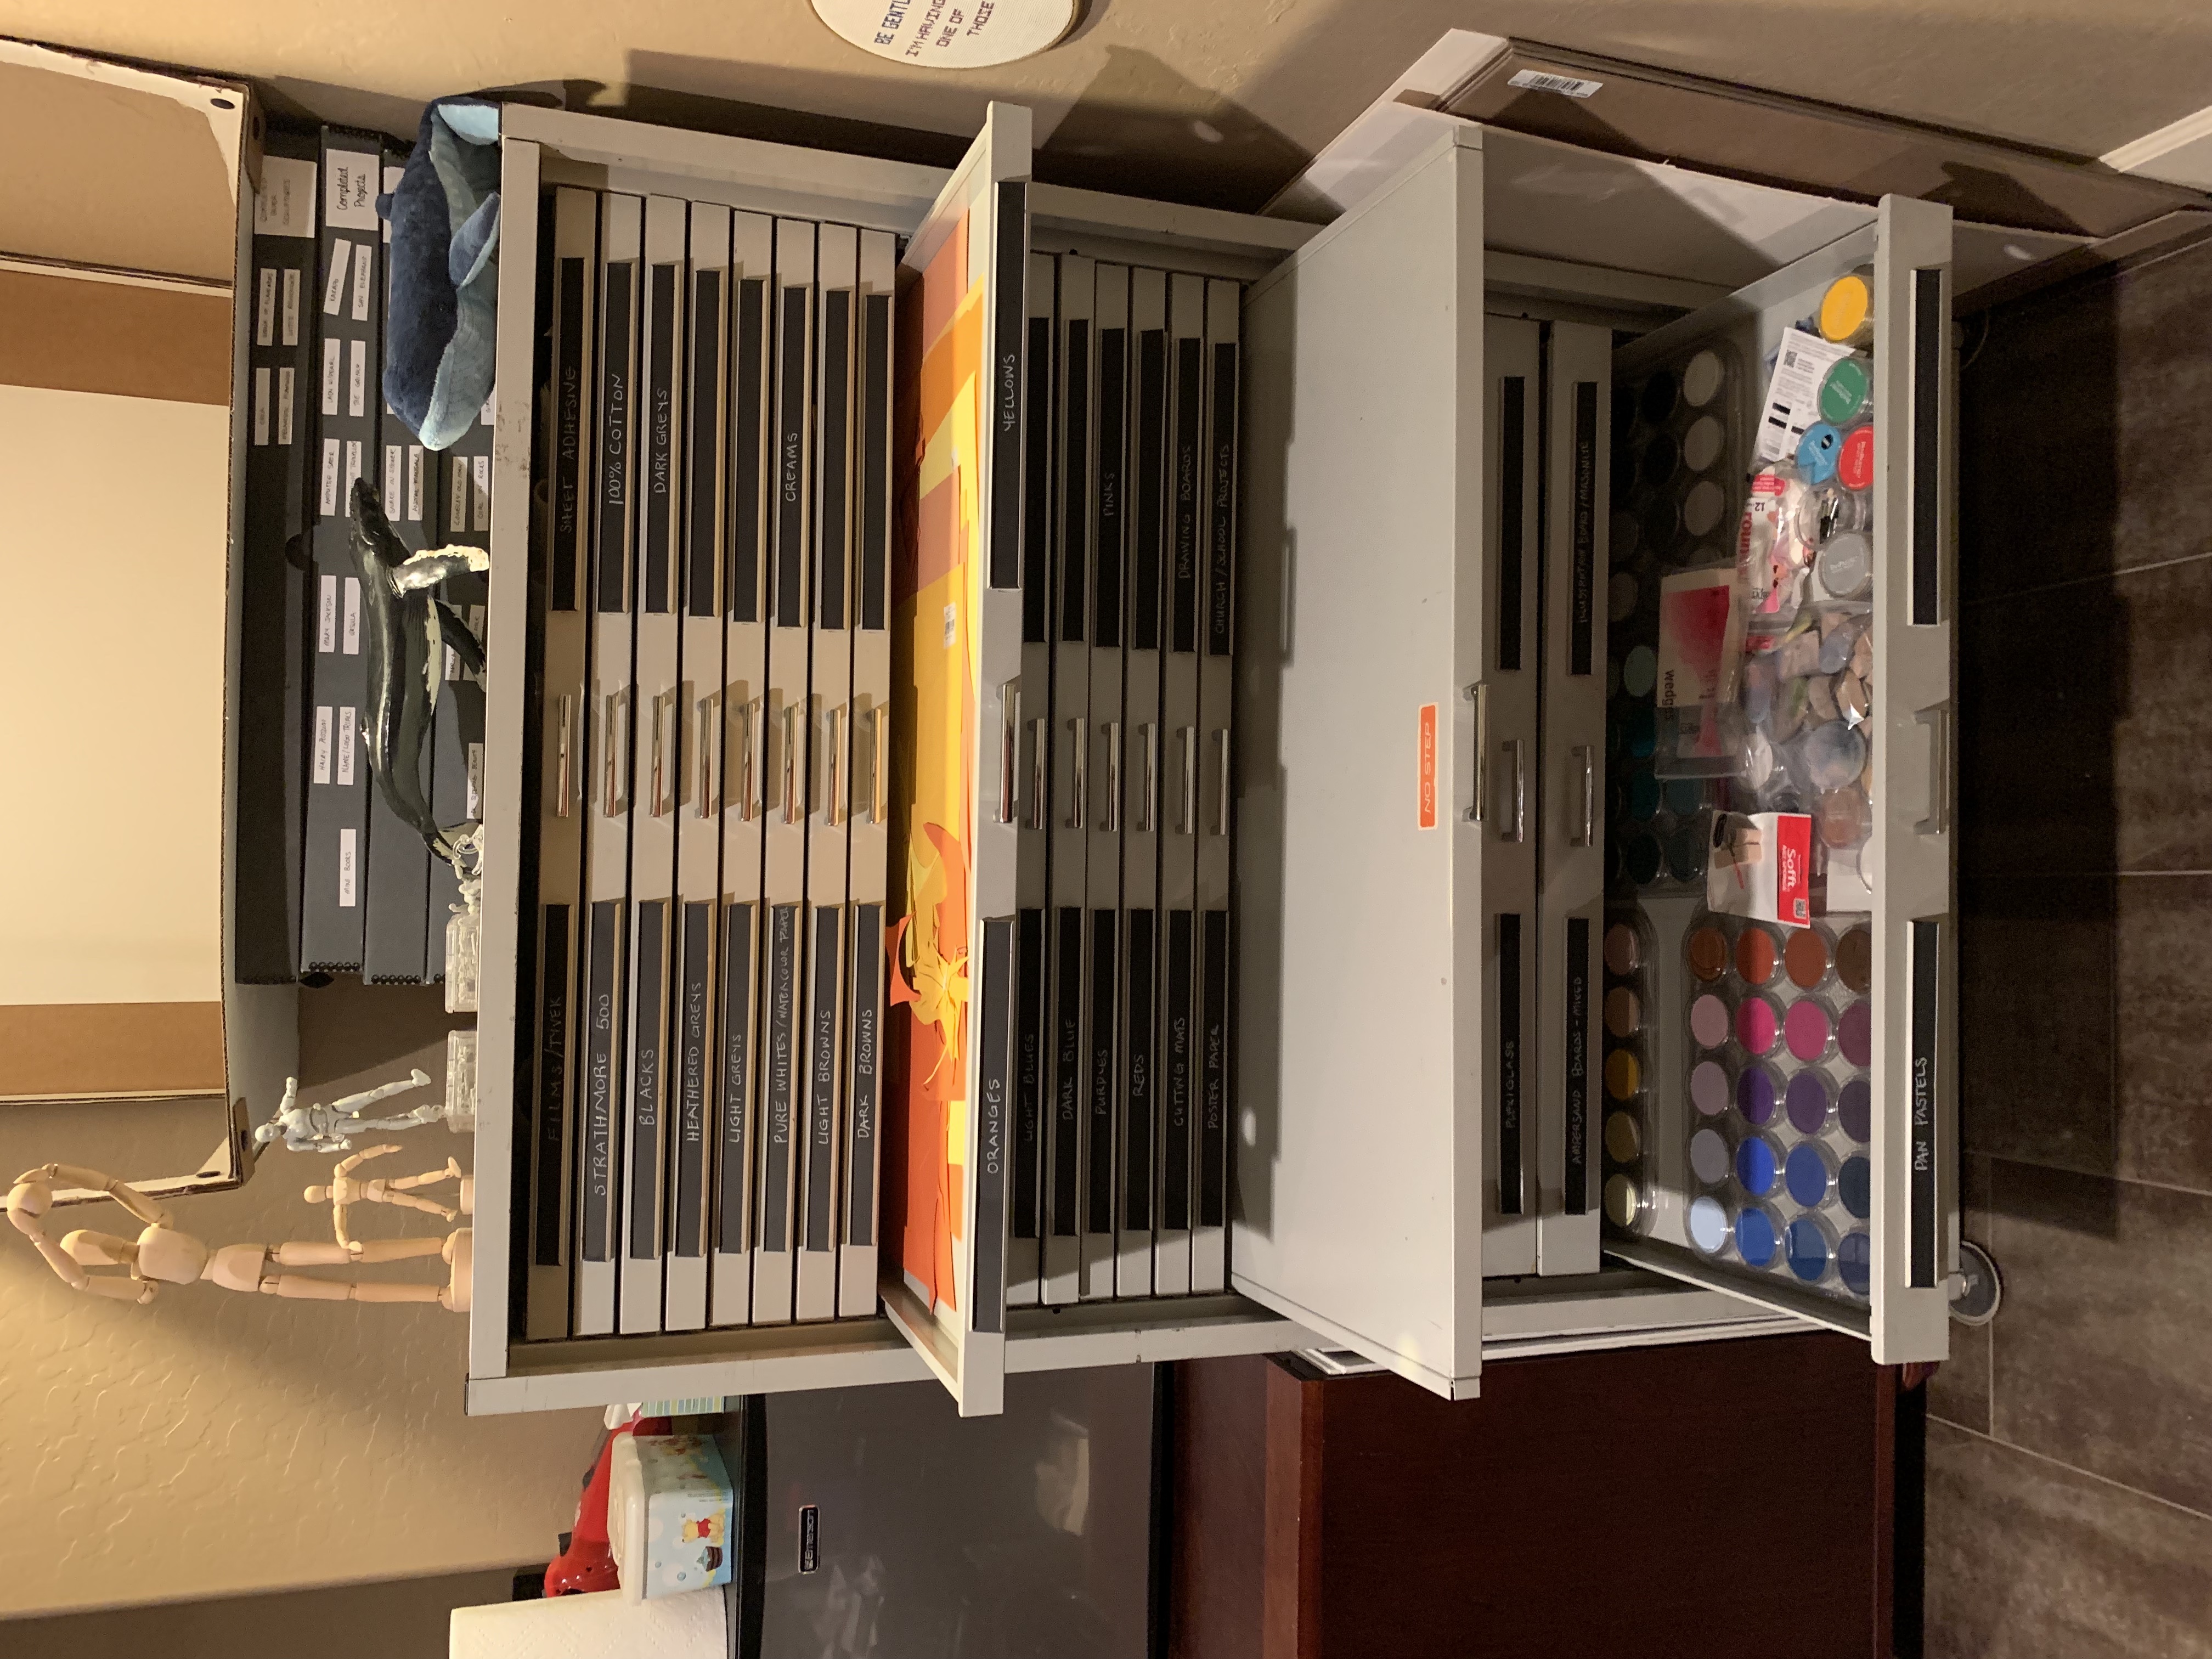
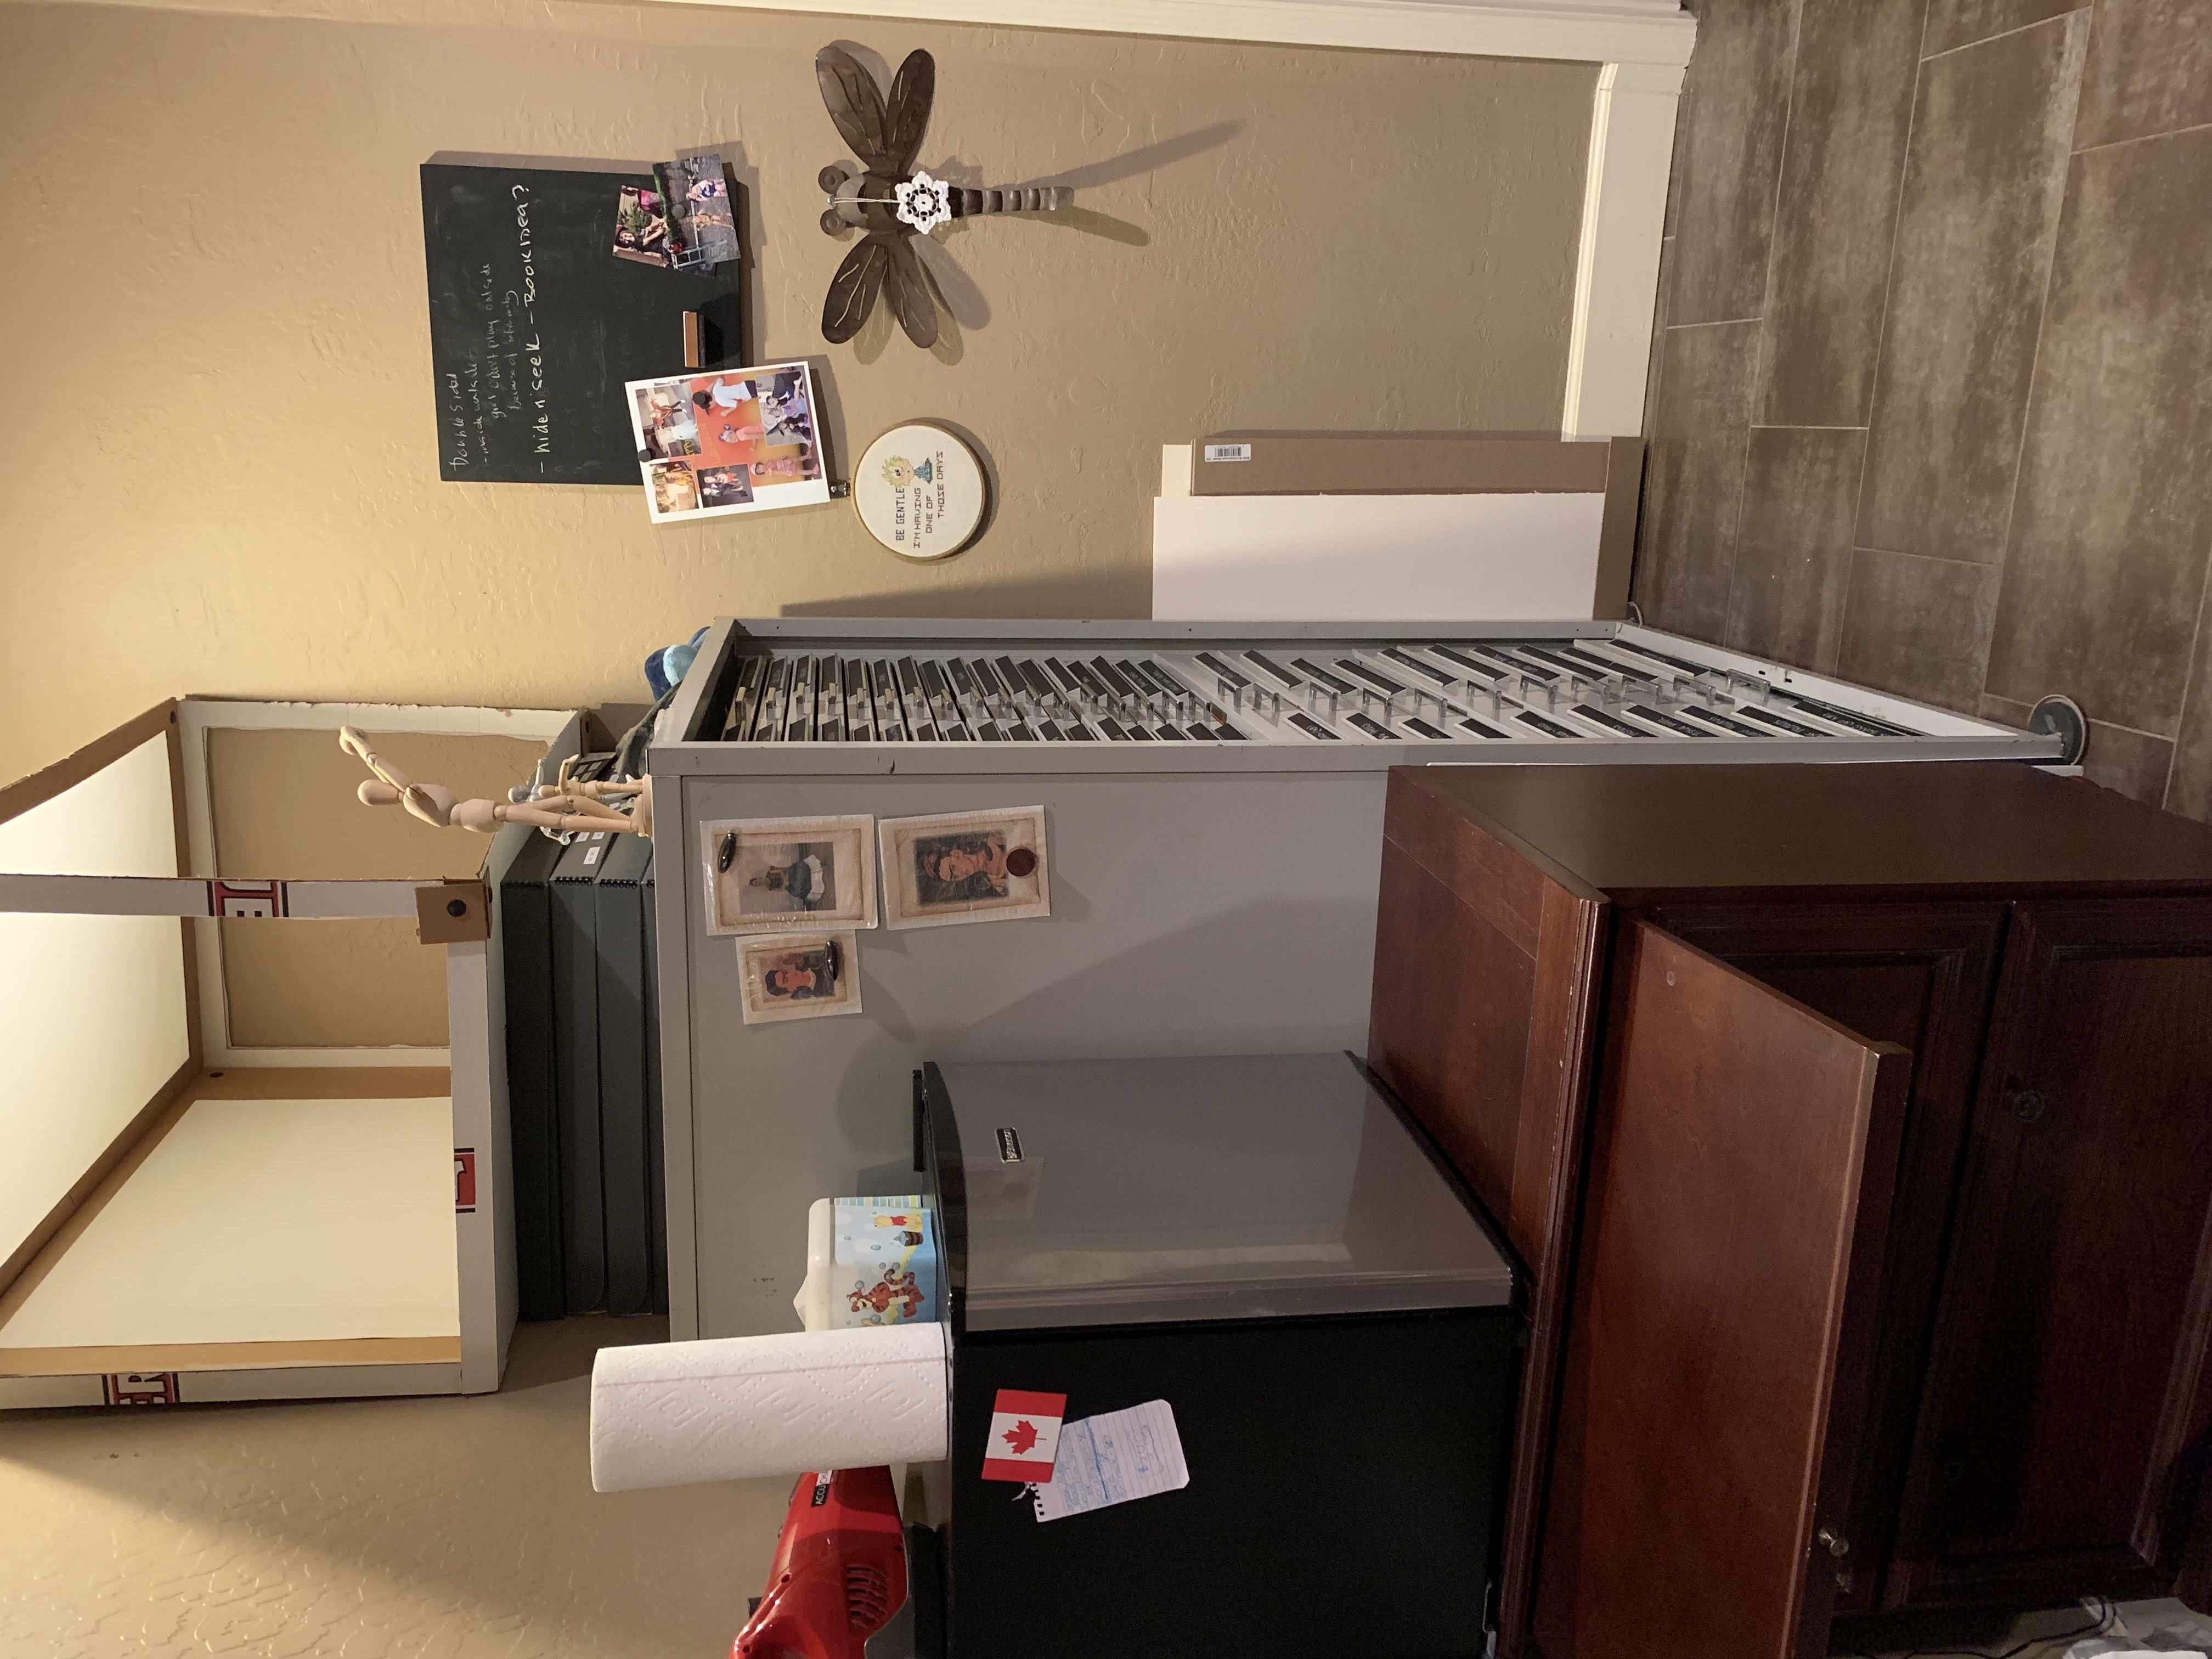
But I saved the best for last – the pride and joy of my past year. Flat files for paper storage are EXPENSIVE!!! So over the years I’ve bought several of these boxes as substitutes – Blick Archival Storage boxes in the largest size (22" × 30" × 1¾" – which is still too small for some paper dimensions) and cost about $25. But when I would work on a project, I’d have to haul all the boxes down (I sorted by color) and spread them out around the family room.
One day, I thought I’d just see if I could find any used flat files on Craigslist. These came up.
Long story short, they had been sold twice, both time to people with fraudulent cashier’s checks, so they were available, but I’d have to get them that week, from far North Phoenix, and they were HEAVY! The man who was selling them was a retired architect and they were downsizing, and his wife was making him get rid of them. He was practically crying as they took them away, and I was crying because I was so happy.
Moving in was a process – and it took two whole days to figure out how to put them back together (no exaggeration). My husband says they’ll have to stay if we ever sell this house, but they’ll pull these from my cold dead hands. Even with having to hire a moving company, I got the whole unit for around $800. To put in perspective, new flat files go for about $800+ for five single-depth drawers. This unit has 28 (!) drawers – 17 single depth, 1 pull out shelf (that I use ALL the time) and 10 double-depth shelves. (I’ll show how the drawers are organized more in future posts).
Yes, it’s practically the size of a sub-zero refrigerator, but it actually opened up a lot of space in my studio. This is (no hyperbole) the greatest item I’ve ever purchased. Moral of the story is – look for used flat files and save $.